
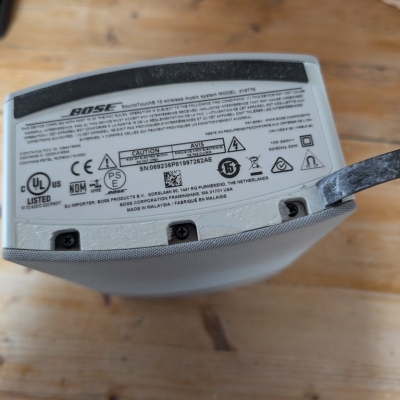
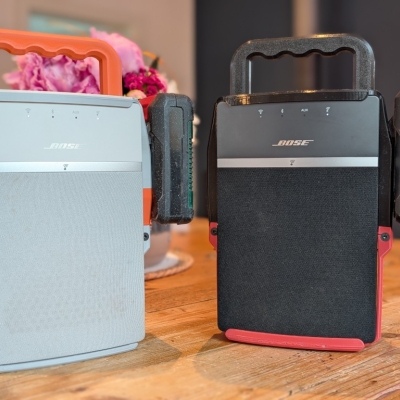
Bose Soundtouch 10 Battery Mod
The Bose SoundTouch 10 has a good room-filling sound, but it lacks an internal battery. If you have Einhell power tool batteries sitting in your garage, you already have a good power supply. This project turns a static speaker into a rugged, long-range garden radio.
The Motivation:
Why modify an old Bose SoundTouch 10 for the garden?
- Bluetooth Range Sucks: Standard Bluetooth cuts out the moment you walk away or put the phone in your pocket.
- WLAN Advantage: I have good Wi-Fi coverage in my garden, so a WLAN-based radio is perfect here. If you take it away from home, you can just run a mobile hotspot from your phone for stable, long-range streaming.
- Cheap and Sustainable: High-quality outdoor Wi-Fi radios are rare and expensive. You can find SoundTouch 10 speakers quite cheaply on the used market now, especially since Bose turned off the backend servers.
- Long-Term Testing: I have had a black prototype of this setup running for over a year now without any issues.
Materials
To build the custom battery mount and handle, you will need:
- Battery: Any 18V Einhell Power X-Change battery.
- Connectors: Metal blade terminals to slide into the Einhell battery slots.
- Fasteners:
- M4x20 flat-head screws (for securing the main battery holder).
- 3.5x30 screws (for mounting the handle to the frame).
- A sountouch 10, obviously
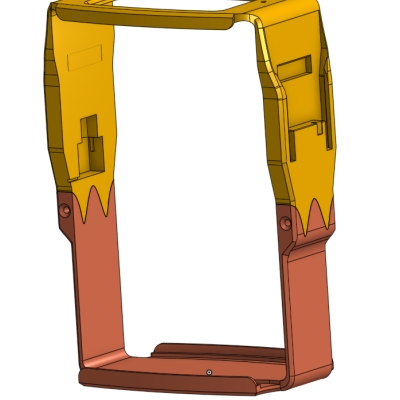
- 3D Printed Parts: You can access the CAD files to print the handle and mount and the main case. Do not judge me - the model is an absolute mess, but it works. There is a fiel on Makerworld, but I would recommend to download the files from onshape and slice yourself. On Makerwold I posted Verison 1, this might be slighly short dependent on material shrinking (but for me it worked on the balck verison).
⚠️ SAFETY NOTE: Einhell Power X-Change batteries are specifically engineered with the Battery Management System (BMS) built directly onto the battery itself. This is a massive safety advantage for DIY projects, as the battery regulates its own cell balancing and protections.
Step-by-Step Build:
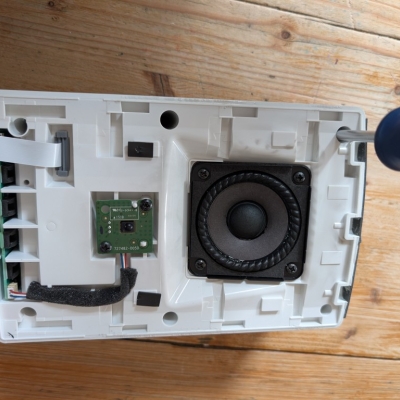
1. Open the speaker
To get inside without breaking the plastic tabs, use the iFixit SoundTouch 10 teardown guide. It shows you exactly where the hidden clips are.
Remove the three screws under the front rubber bumper:
Remove the six screws under the fron grill:
Loosen the two screws on the internal bass channel:
Remove the three screws holding the main PCB:
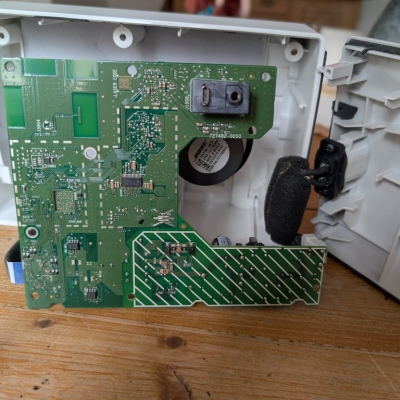
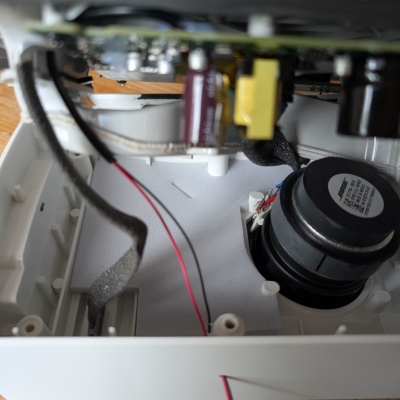
2. Locate the PCB Solder Points:
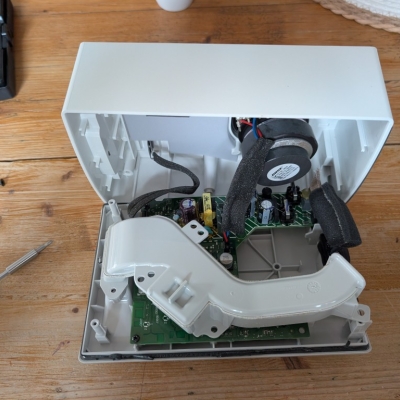
Look at the PCB where the internal AC power supply connects to the logic board. Find the positive (+) and negative (-) DC input pads where the regulated power enters the amplifier circuit.
⚡ Warning: Stay away from the dashed/hashed area on the PCB. That section handles the high-voltage AC mains power.
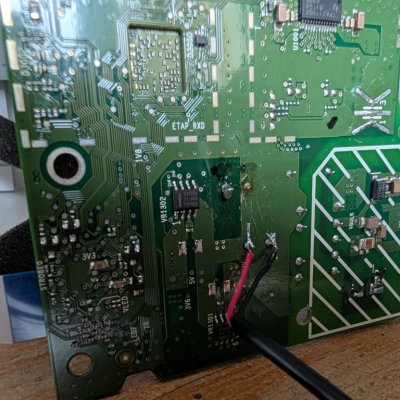
I found it easiest to solder the wires directly to the pins shown in the photo. Use standard red for positive and black for negative. Hook it up to a temporary power source first to make sure the board boots before you close it up.
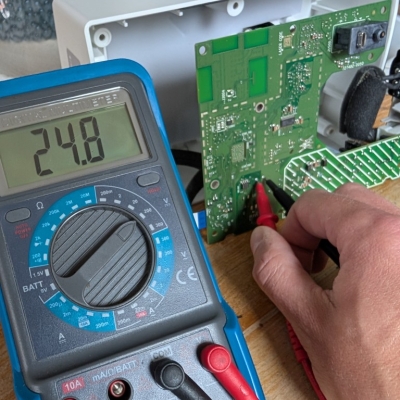
Verify it is working:
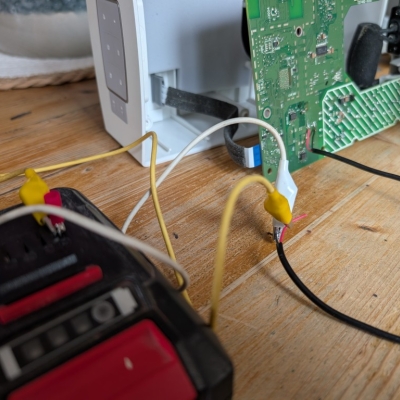
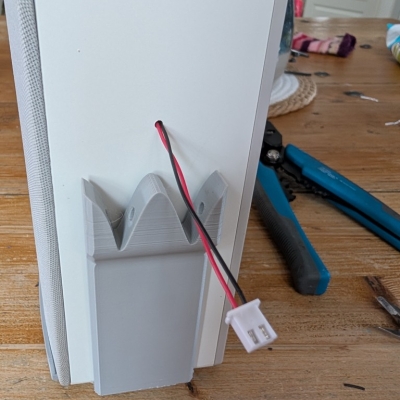
3. Route Wires
You need to get the wires outside the housing. Double check the hole location with the 3D-printed frame:
Put a good blob of hot glue on the inside of the hole. This seals the acoustic chamber of the speaker back up and acts as strain relief so you don't rip the wires off the PCB if the cable gets tugged.
Half way done!
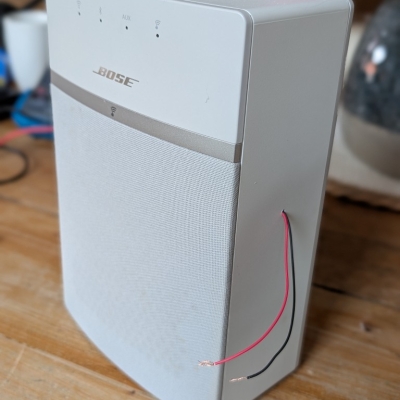
Alternative: The 3D-printed case is also designed to let wires pass directly through a small hole which is drilled in the factory seams of the speaker shell. By routing the wires through this seam line, you avoid drilling an ugly holes into the middle of the exterior plastic but wires will be visible. Might be better if you want to undo the modification at a later point:
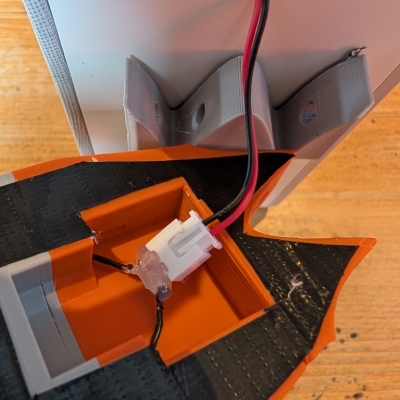
4. Add a Quick-Disconnect Plug
Optional: Don't permanently wire the 3D-printed frame to the speaker. Crimp or solder an inline connector (like an XT60 or basic automotive plug) onto the wires coming out of the seam. This lets you unplug and completely remove the battery frame later if you ever need to service the speaker internals.
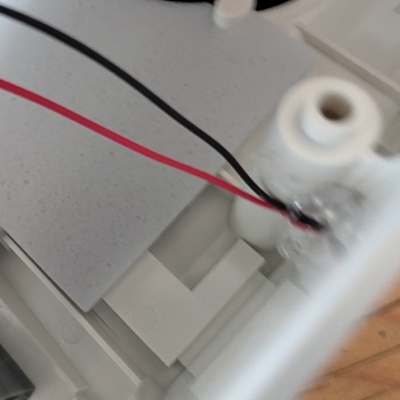
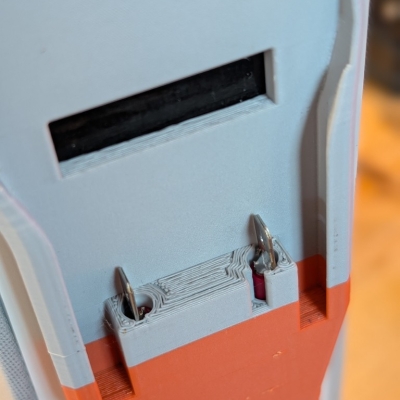
5. Prep the Einhell Battery Terminals
Thread your power wires completely through the channels of the 3D printed mount before you attach the connectors. Check the polarity against a physical Einhell battery first so you don't wire it backwards:
Add some hot glue inside the terminal area to keep the leads separated and prevent shorts:
Crimp or solder the metal blade terminals onto the wires. Soldering the wire directly to the back of the blades gives a much more solid, vibration-resistant joint:

Slide the blade terminals into their slots. Check your tolerances here; there are a few different types of these metal blades available online, and some are wider than others:
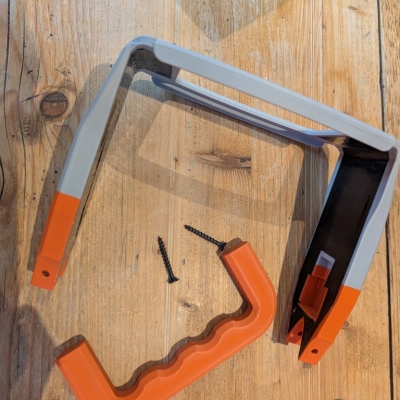
6. Assembly
Put the 3D-printed frame against the back of the Bose chassis. Use the M4x20 flat-head screws to attach the top and bottom sections. Be careful not to overtighten them, as the printed connecting fins can snap if you use too much force.
A couple of practical notes from my build:
- I wrapped some gaffa tape around the inner walls of the 3D-printed parts just to add a bit of structural support across the layer lines. My oldest build has been running for a year without breaking, but it doesn't hurt to be safe.
- I ran out of grey filament halfway through the print, so I swapped to matte orange. I ended up printing the handle in orange too to make it match.
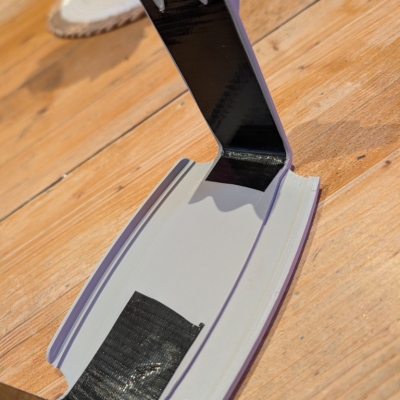
The hanlde is screwed in from below:
Use the M4x20 screws and attacht top and bottom part. Be carful, the connecting "fins" might snap easily.
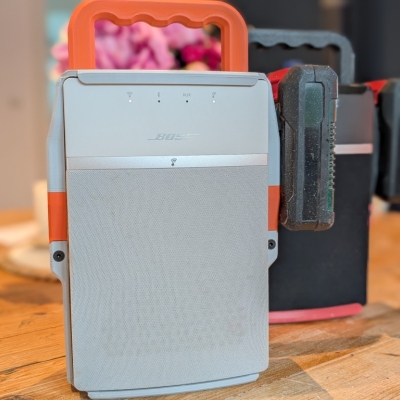
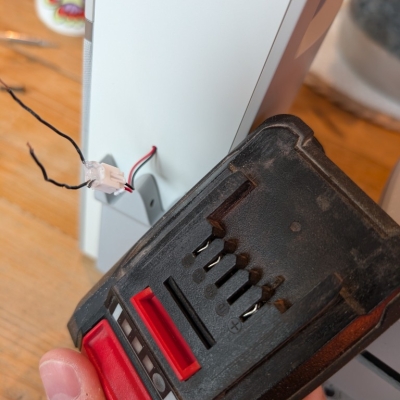
7. Fire it up!
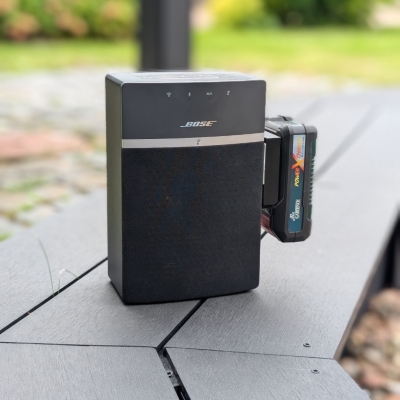
Slide your Einhell battery into the dock until it clicks into the blade terminals. Set up your network connection, and the radio is ready for the yard.
Improvements
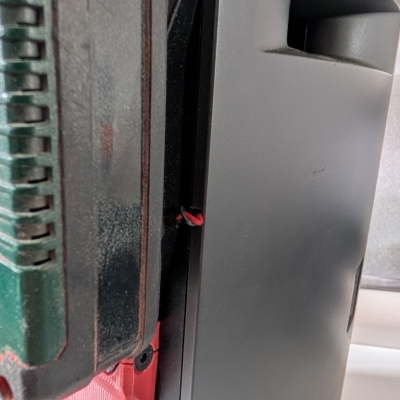
Watch your cooling and bed temperature settings with these models. Large functional parts like this tend to warp and shrink.I got ugly print destortions on the top and bottom edge radii.
On my white version, a piece of the front protective bumper snapped off due to print shrinkage stress (see picture above). It did not happen on the black version. If it happens to yours, it is mostly cosmetic and does not affect how the speaker or battery dock functions.
Keep it simple
If you do not want to print the full enclosure, or you do not have the appropriate batteries available in your country you can also download and print a generic holder for your battery an glue it directly to the side of the speaker. Keep in mind to add a Battery Management System (BMS), if your battery does not have one build in:
Battery Life Expectancy
I haven't run a thorough, timed drain test from 100% to empty yet, but the efficiency is great. Even when using a smaller 2.5 Ah Einhell battery, I barely manage to empty it during a normal day in the garden. You can easily expect at least 6 to 8 hours of continuous playback at medium volume. Served me well on some garden parties already! And if you have a spare battery on hand it is not a problem anyway.
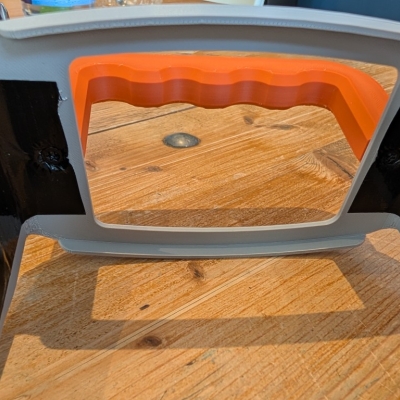
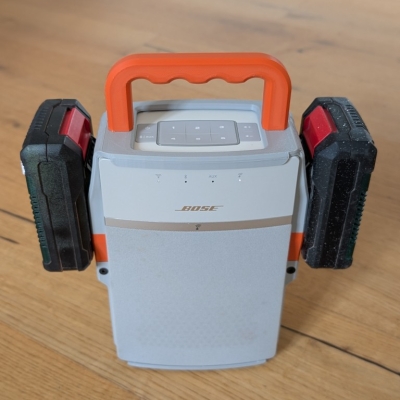
As a bonus, the design includes a second holder on the left side of the frame. This doesn't have any wiring - it is purely there to house a spare battery so you can quickly swap packs and keep the music going. Also nice if you want to take the box with you.
Side Note: The Bose Server Shutdown
Bose shut down the legacy SoundTouch servers on May 6, 2026, meaning you can no longer set up or manage these speakers through the official smartphone app. The hardware is still excellent, so it is worth saving from the landfill.
The open-source community has built a few different workarounds to bypass the dead servers and restore local Wi-Fi control (not a complete list, for sure):